2. Getting Started
The wearable application has been pre-compiled for the MicroEJ simulator and the i.MX RT595 EVK Rev. C1 device. The following chapters explain how to run a pre-compiled application on the simulator and i.MX RT595 EVK Rev. C1, the application flow, and how to recompile the wearable application to modify it.
2.1. Virtual Player
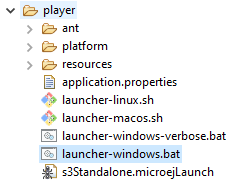
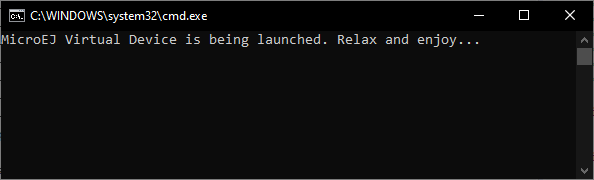
The virtual player is an executable that launches the wearable application on the MicroEJ simulator. Open folder [root]/gettingStarted/player and double-click on launcher-windows.bat to start the virtual player.
Note
java (https://www.java.com/fr/download/) must be installed on your computer before launching the player.
Use your mouse on the virtual display to simulate the hardware touch panel. Refer to the chapter Application Flow to navigate in the application.
2.2. Embedded Device
2.2.1. Main Application
The wearable application has been compiled to run on a i.MX RT595 EVK Rev. C1 device. Deploy [root]/gettingStarted/board/blhost/application.bin file (see next chapters) and reset the board. Refer to the Application Flow chapter to navigate in the application (see Application Flow).
The following technique is using the application MCUBOOT (MCU Bootloader for NXP microcontrollers) to flash the board:
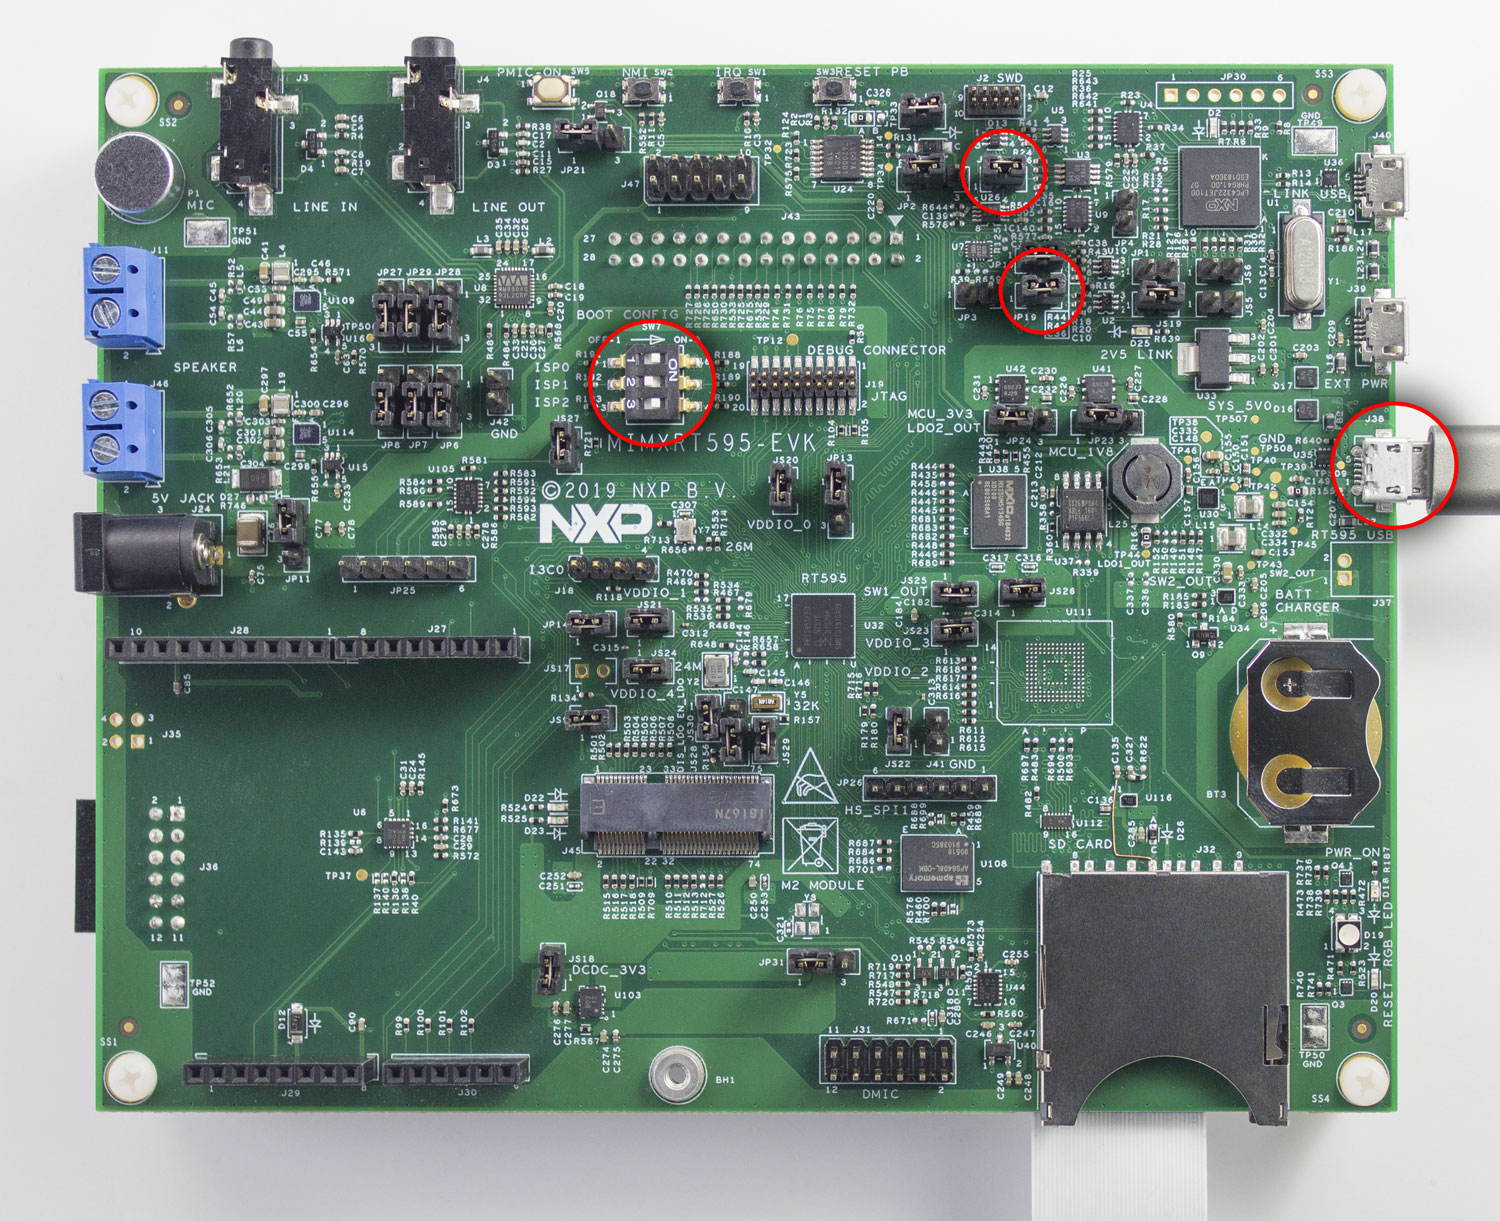
- Unplug the board.
- Ensure JP18 and JP19 are closed.
- Change DIP switches (SW7) to ON, OFF, ON (ISP0, ISP1, ISP2).
- Plug a USB cable on J38.
- Open package folder
[root]/gettingStarted/board/blhost. - This folder already contains the compiled application; launch
rt500_download_image.bat. - Unplug the board.
- Change DIP switches (SW7) to OFF, OFF, ON (ISP0, ISP1, ISP2).
- Plug a USB cable on J40; the application starts.
2.2.2. Additional Watchface
Some additional watchfaces can be deployed during the execution of the main application.
A simple watchface is available near the main application binary file: [root]/gettingStarted/board/blhost/simple_watchface.fo.
This watchface has been compiled to be compatible with the main application and is ready to be sent through the Debug Console Serial Port.
- Ensure a USB cable is plugged on J40 (not J38).
- Install HTerm software http://der-hammer.info/pages/terminal.html.
- Open HTerm.
- Press the
Rbutton to refresh the COM ports list. - Select the correct COM port and configure it: Baud
115200, Data8, Stop1, ParityNone, Newline atLF. - Click on
Connect. - Reset the board: some traces appear in the HTerm console.
- Click on
Send fileand select the feature file[root]/gettingStarted/board/blhost/simple_watchface.fo. - Start deployment by clicking on
Start.
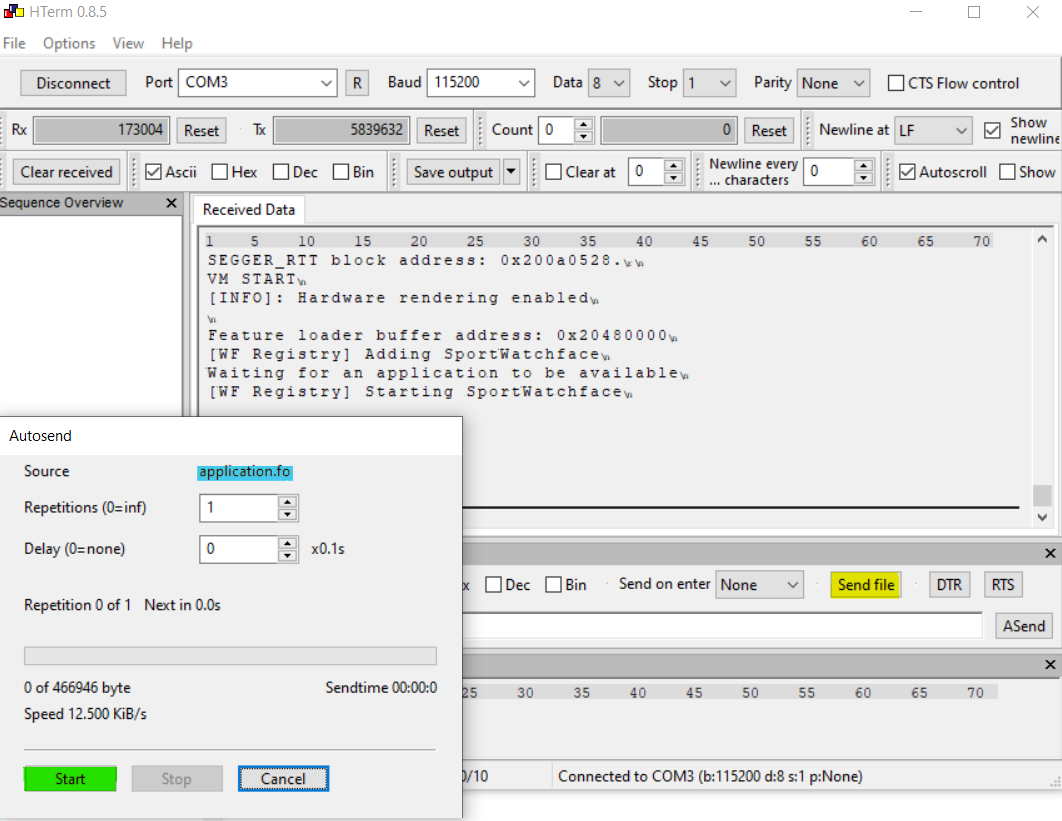
As soon as the transfer starts, a message with the number of bytes transferred appears in the console log. The end of the transfer is automatically detected when no more bytes are transmitted. The new watchface starts immediately.
Transferred bytes: 1024
Transferred bytes: 2048
[...]
Transferred bytes: 449536
Transferred bytes: 449990
Transfer is over
Application available. Loading application.
Waiting for an application to be available
[WF Registry] Adding SimpleWatchface
[WF Registry] Stopping FlowerWatchface
[WF Registry] Starting SimpleWatchface
Note
The new watchface is deployed in RAM. A board reset removes the watchface.
Warning
In some situations (i.e., in the watchface carousel or a low-power watchface is running), the system can be asleep in DeepSleep mode (see Power Management). In that case, the bytes transmitted to the COM serial port are skipped. Select a watchface or an application that is always active and restart additional watchface deployment.
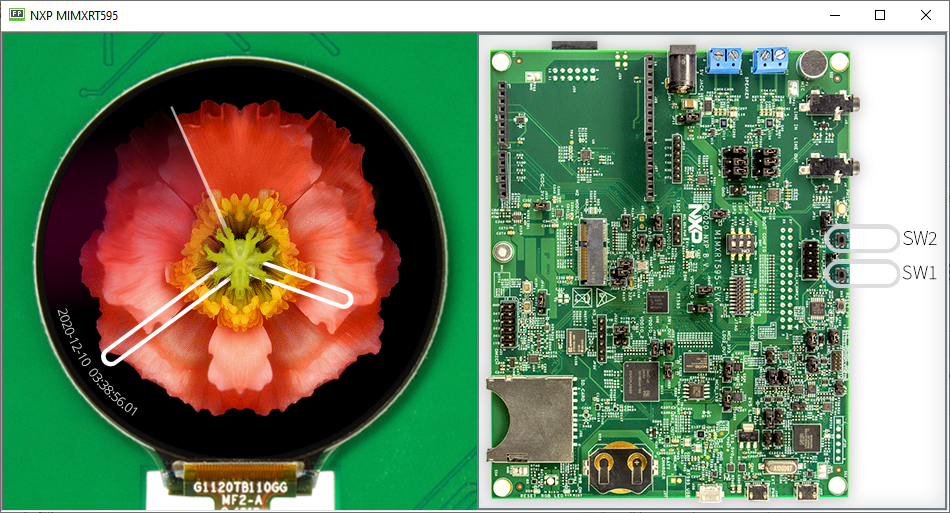
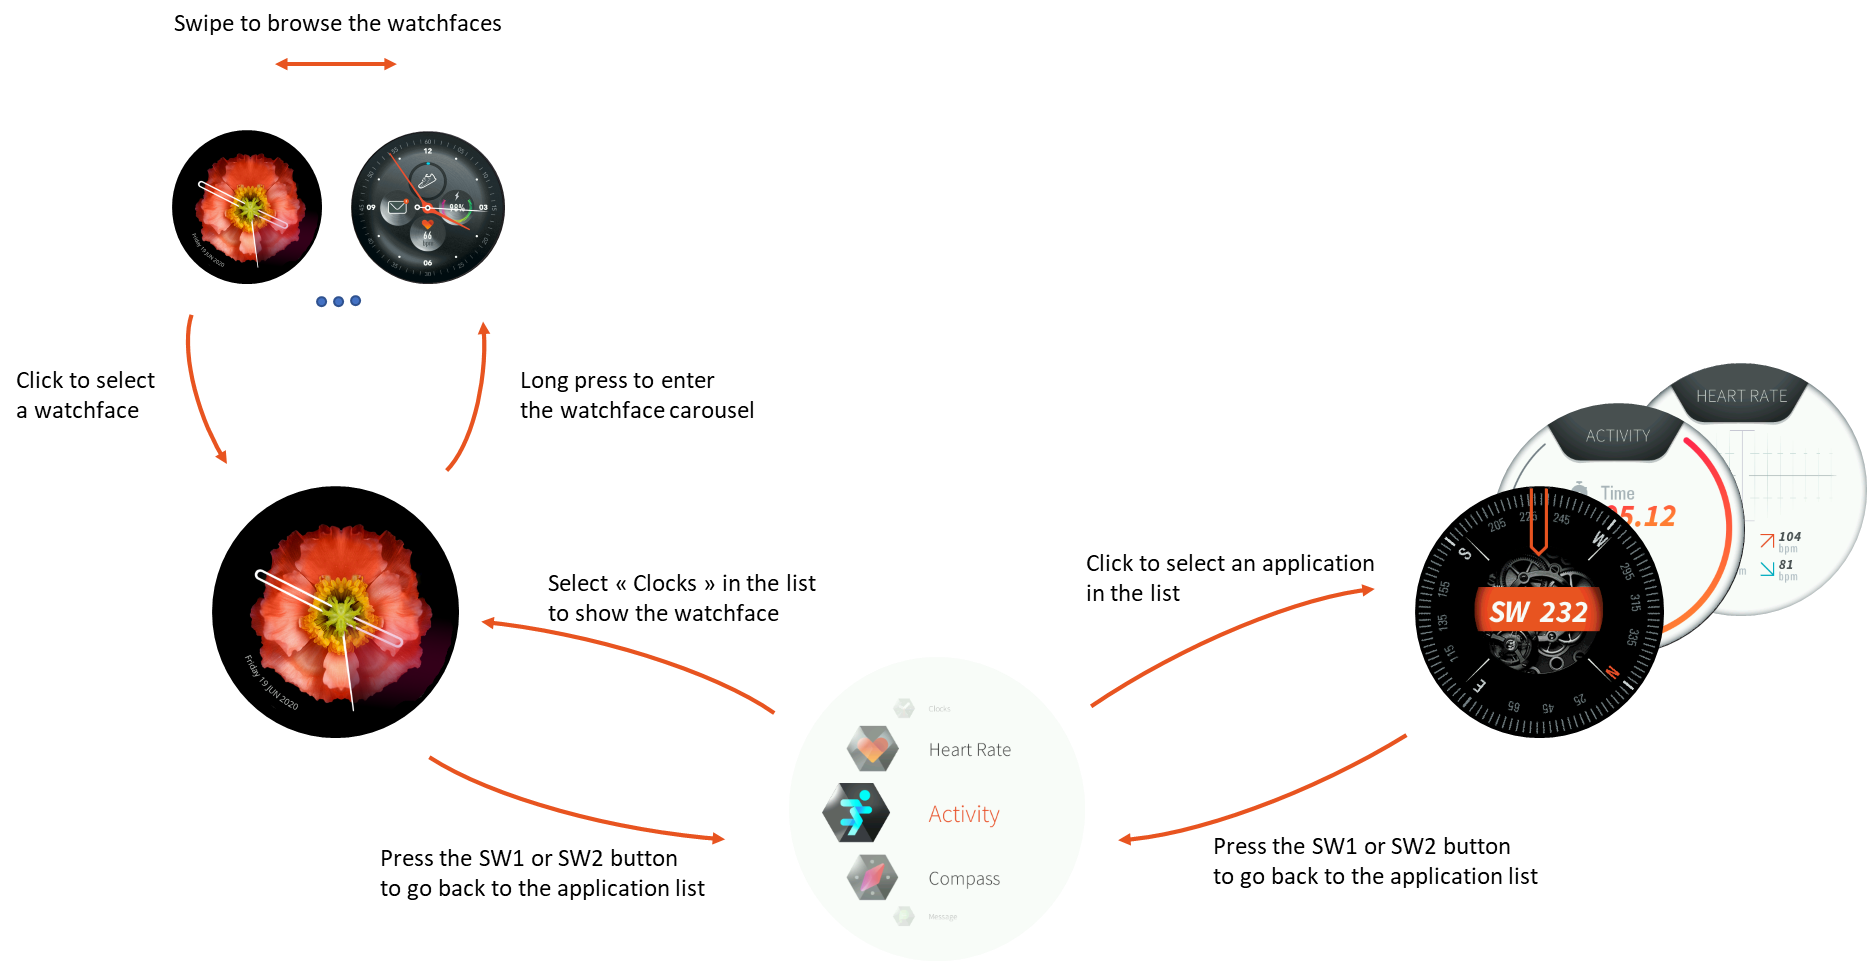
2.3. Application Flow
On startup, the application displays the Flower Watchface.
The user can do the following actions:
- A long touchscreen press to enter the watchface carousel.
- A user button press (
SW1orSW2located on the top of the board) to enter the application list.
The watchface carousel lets the user select one of the two watchfaces available. To change the watchface, the user shall use the touchscreen to swipe to the left or to the right and then press shortly to enter the desired watchface.
The application list lets the user select one of the available applications. To change the application, the user shall use the touchscreen to swipe to the top or to the bottom and then press shortly to enter the desired application.
The user can come back to the application list from any application by pressing
any user button (SW1 or SW2).
When entering the clocks application, the last selected watchface is displayed.
2.4. Update Application
The application has to be compiled against the MicroEJ platform made for i.MX RT595 EVK Rev. C1. This platform implements specific libraries, uses concepts and tools described in the following chapters. To update, build and deploy the application, a setup is first mandatory. Refer to the chapter Setup to install required elements. Then refer to the chapter Build the Demo to build the application again.
 Docs
Docs Resources
 Forum
Forum